by Fiona Carlson
Hi friends! Here's something fun I want to share with you today.
If you've ever made flying geese one-at-a-time, you'll come to find, when you make a bunch of them, that you end up with a TON of waste.
Enter the no-waste four-at-a-time flying geese method! It is quick, fun, and best of all, uses ALL the fabric you cut (minus a little bit of trimming).
The Mama Bird quilt is made using two blocks oriented in different directions. One of those blocks is a set of two mama birds carrying their baby birds Flying Geese!
This tutorial will walk you through all the steps needed to make four-at-a-time Flying Geese with directional fabrics for the Mama Bird quilt.
So let's get to it!
PIECES NEEDED:
(1) W/X Unit (square-within-a-square) - See pattern(s) for instructions.
Large Format: W/X Unit - 13 ¾”
Small Format: W/X Unit - 9 ¾”
(4) Background squares
Large Format: Background Squares - 7 ¼”
Small Format: Background Squares - 5 ¼”
STEP 1:
Align all fabrics directionally facing the same direction in front of you.

STEP 2:
Using (1) Background square, turn 90 degrees counterclockwise, then flip over and align with the top right corner of the W/X Unit as shown.


Repeat with (1) Background square, aligning with the bottom left corner as shown.


STEP 3:
On the wrong side of both Background squares, mark a diagonal line from the top left corner to the bottom right corner as shown.

STEP 4:
Pin and sew a scant 1/4" seam on both sides of the marked line.


STEP 5:
Cut on the marked line. Separate, open, and press toward the Background.


STEP 6:
Using (1) remaining Background square, turn 90 degrees clockwise, then flip over and align with the left corner of the top W/X Unit as shown.


*Note: Fold the top right corner of your background square down to the bottom left corner to check for directionality.

STEP 7:
Repeat with your last remaining Background square; turn 90 degrees clockwise, then flip over and align with the right corner of the bottom W/X Unit as shown.


STEP 8:
Mark a line from the top left corner to the bottom right corner of each remaining Background square.

Note: if you don’t have a fabric pen, use your iron to press a crease into the square and use that to mark your line.


STEP 9:
Pin and sew a scant 1/4" seam on both sides of each marked line.

STEP 10:
Cut on the marked lines. Separate, open, and press toward the Background to create (4) Flying Geese As.


STEP 11:
Trim Flying Geese to size needed.

THAT'S IT!
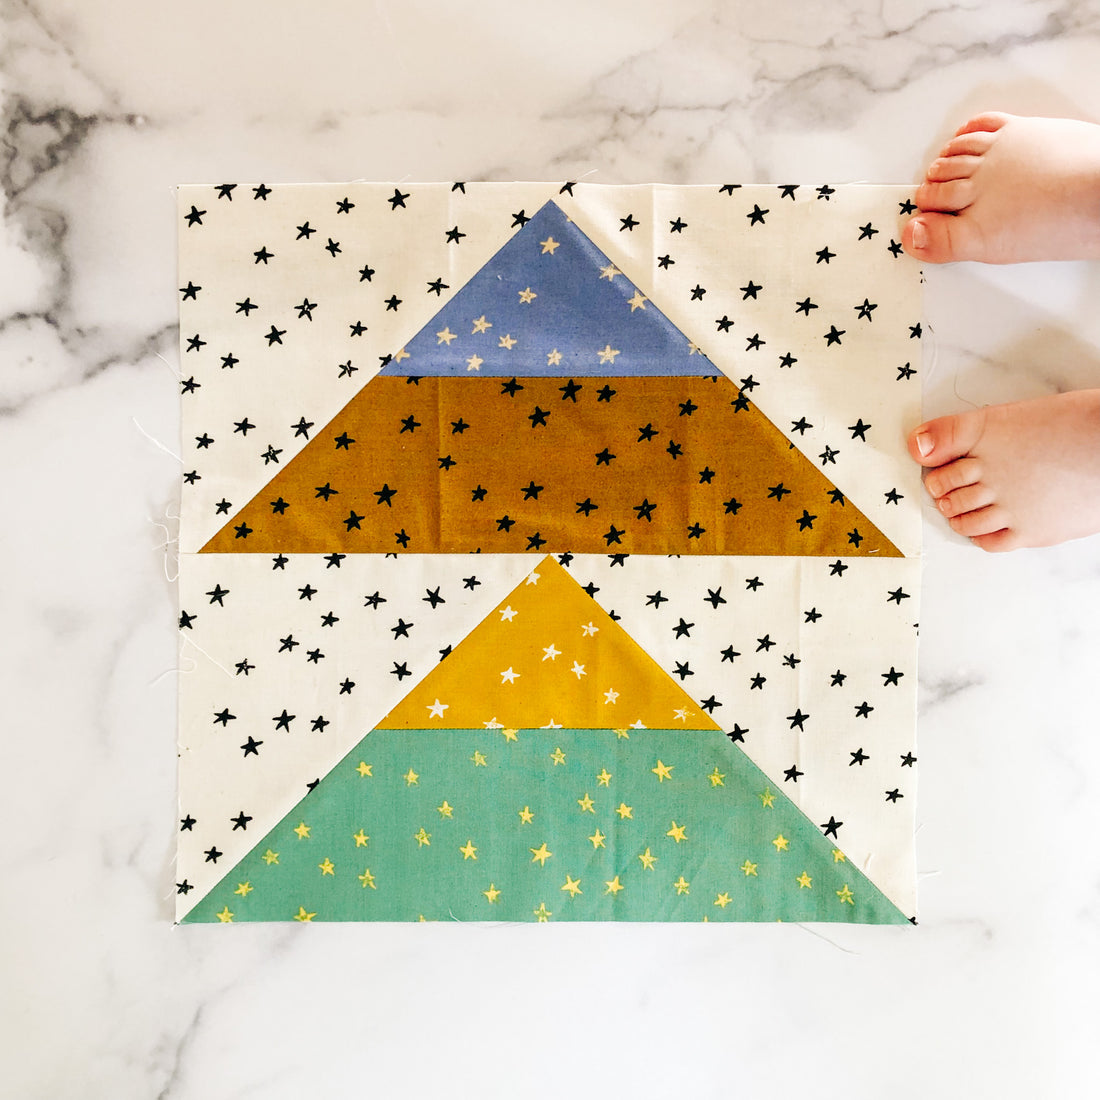
And there you have it! (4) Mama Bird Flying Geese with directional fabrics.

I hope you enjoyed this step-by-step tutorial on making four-at-a-time Flying Geese with directional fabrics.
If you have any questions at all on your Mama Bird quilt making journey, please don't hesitate to reach out to me at hello@mommyandmequiltco.com or find me on Instagram @mommyandmequiltco.
Happy sewing!
xoxo,
Fiona